
效果图
1、安装svg依赖
在vue中首先需要安装可以加载svg的依赖。
yarn安装:
yarn add svg-sprite-loader --save
2、创建文件夹存放svg图标
在assets文件夹下创建icons文件夹,在icons文件夹下创建svg文件夹存放本地svg图标。

3、vue.config.js 中配置svg图片

vue.config.js代码:
const path = require('path')

function resolve(dir) {
  return path.join(__dirname, dir)
}

module.exports = defineConfig({
  transpileDependencies: true,
  chainWebpack: config => {
    // svg图标加载
    config.module
      .rule('svg')
      .exclude.add(resolve('src/assets/icons/svg'))
      .end()

    config.module
      .rule('icons')// 定义一个名叫 icons 的规则
      .test(/\.svg$/)// 设置 icons 的匹配正则
      .include.add(resolve('src/assets/icons/svg'))// 设置当前规则的作用目录,只在当前目录下才执行当前规则
      .end()
      .use('svg-sprite')// 指定一个名叫 svg-sprite 的 loader 配置
      .loader('svg-sprite-loader')// 该配置使用 svg-sprite-loader 作为处理 loader
      .options({// 该 svg-sprite-loader 的配置
        symbolId: 'icon-[name]'
      })
      .end()
  }
}
4、创建index.js导入所有svg图标
icons文件夹创建index.js自动导入所有svg图标。
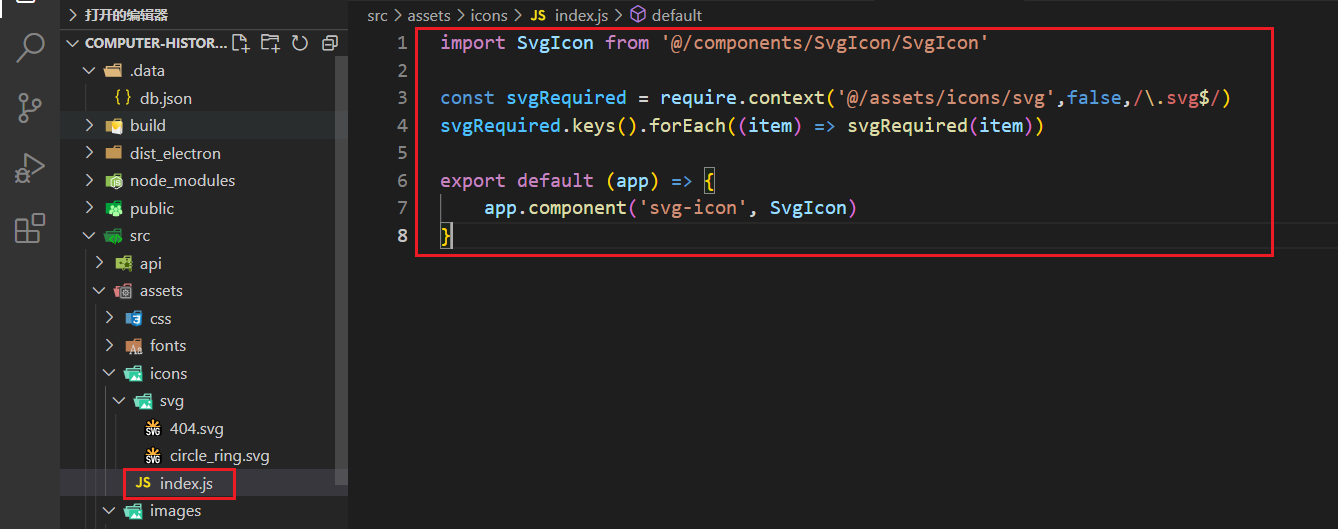
icons/index.js代码:
import SvgIcon from '@/components/SvgIcon/SvgIcon'

const svgRequired = require.context('@/assets/icons/svg',false,/\.svg$/)
svgRequired.keys().forEach((item) => svgRequired(item))

export default (app) => {
    app.component('svg-icon', SvgIcon)
}
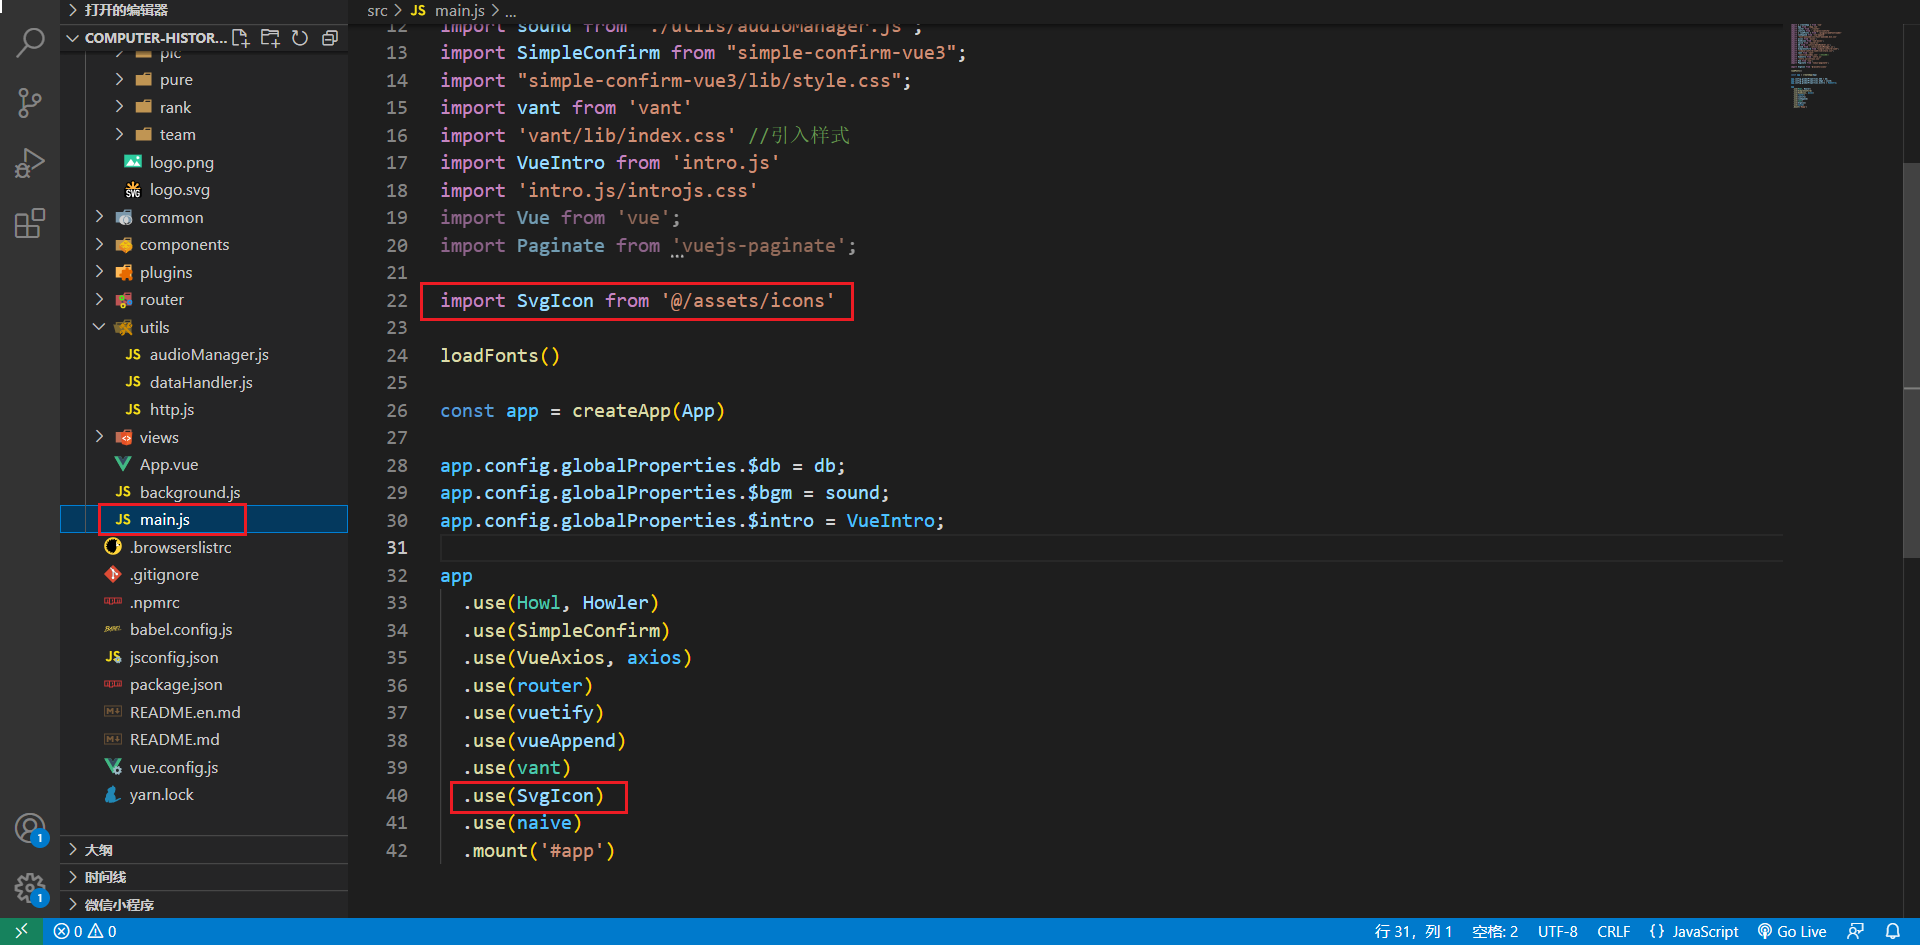
5、main.js中引入icons/index.js
6、创建SvgIcon公用组件
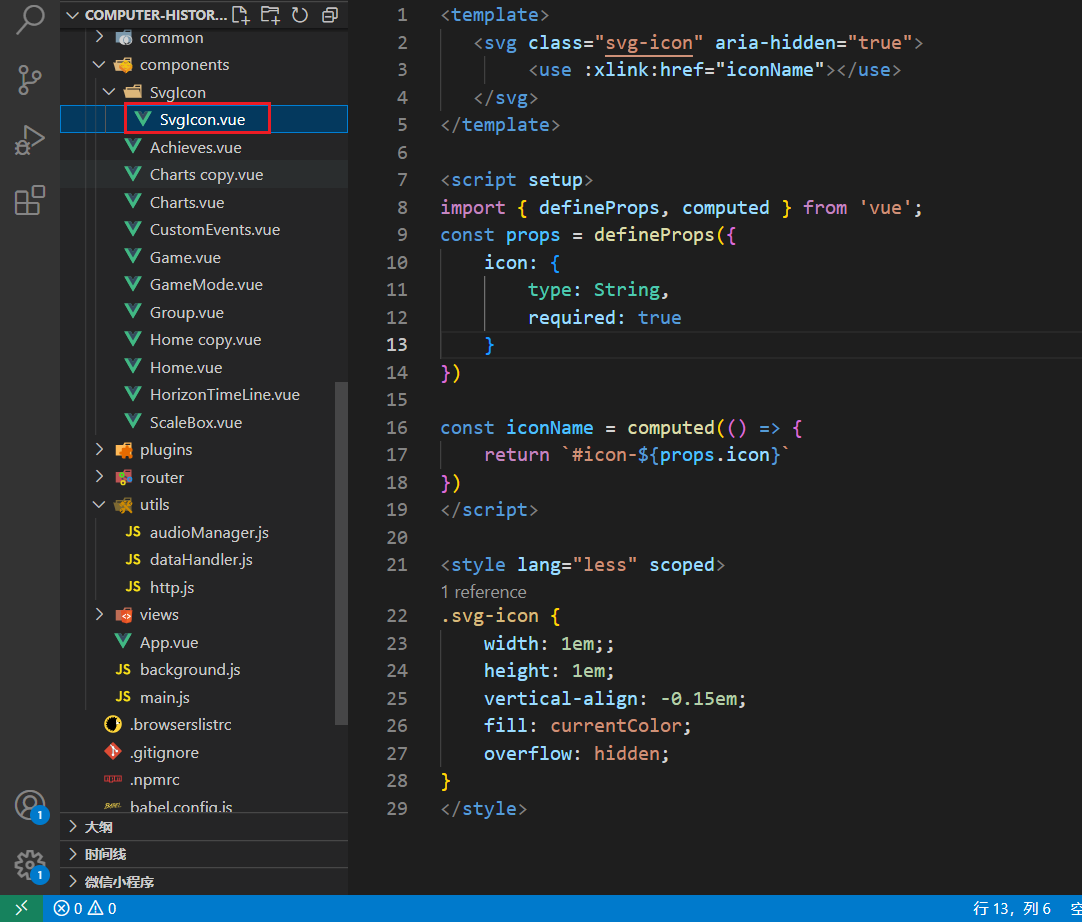
SvgIcon/index.vue代码:
<template>
   <svg class="svg-icon" aria-hidden="true">
        <use :xlink:href="iconName"></use>
   </svg>
</template>

<script setup>
import { defineProps, computed } from 'vue';
const props = defineProps({
    icon: {
        type: String,
        required: true
    }
})

const iconName = computed(() => {
    return `#icon-${props.icon}`
})
</script>

<style lang="less" scoped>
.svg-icon {
    width: 1em;;
    height: 1em;
    vertical-align: -0.15em;
    fill: currentColor;
    overflow: hidden;
}
</style>
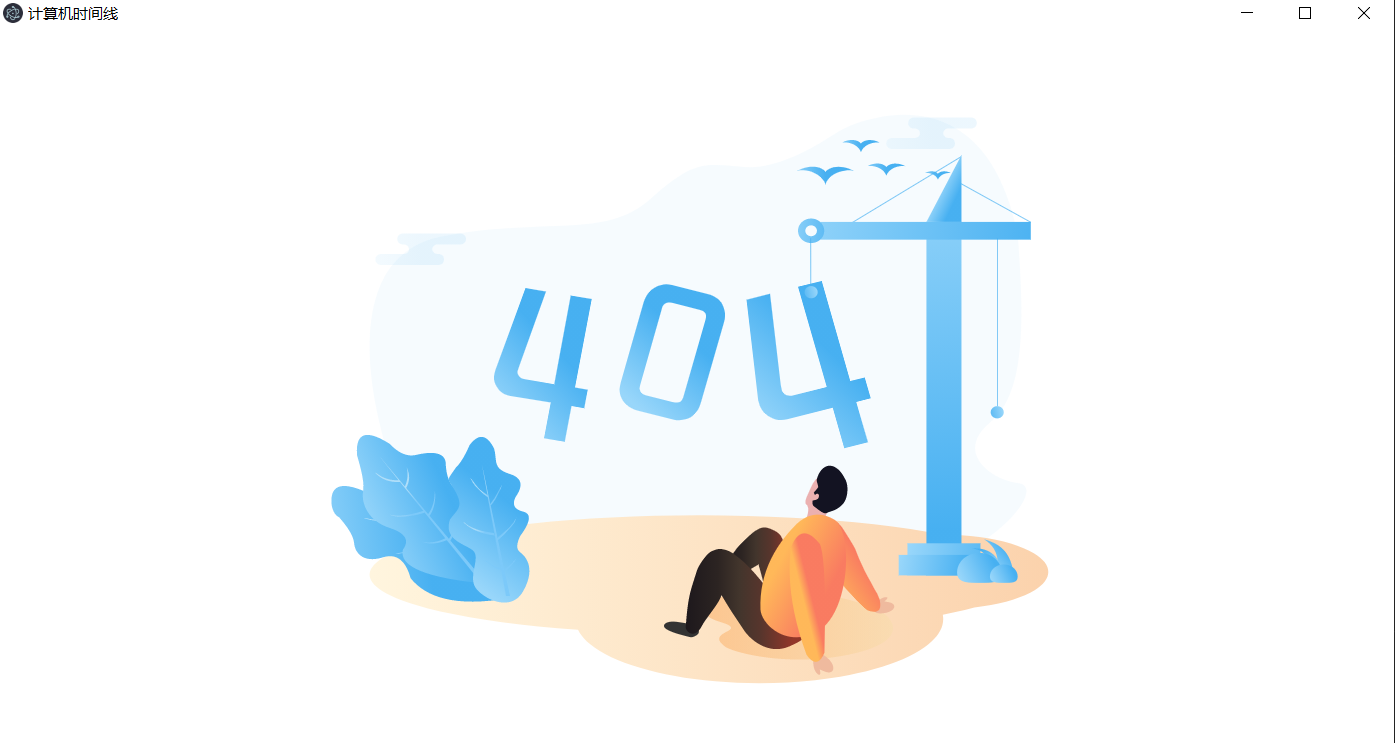
7、使用SvgIcon组件
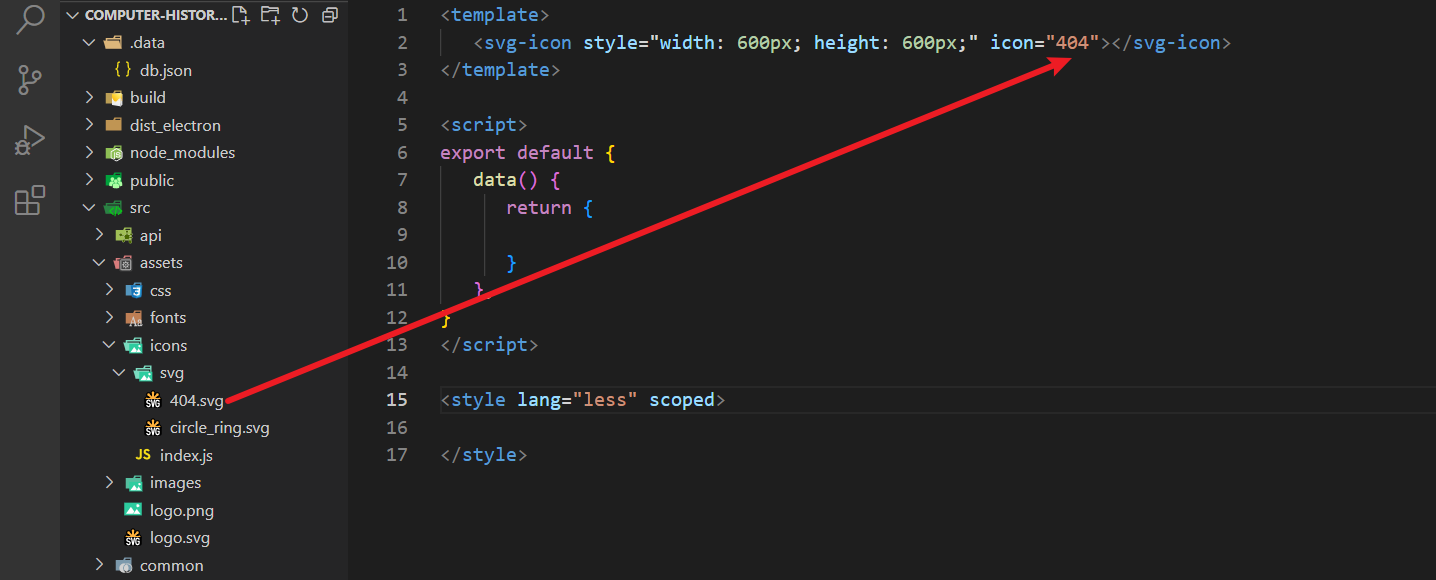
效果图:

评论区